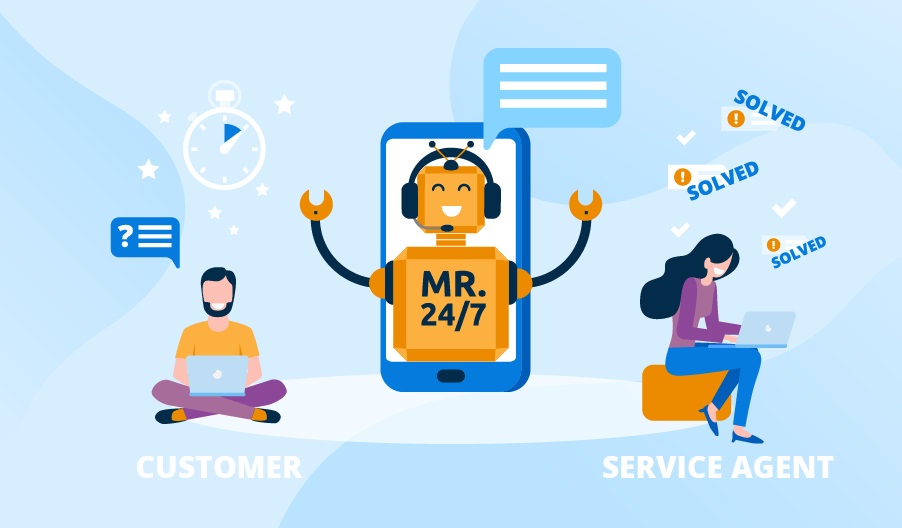
Chatbots have become super popular today, you can do anything from ordering groceries, to getting yourself a new car just by having a conversation with the bot. Now that’s important for you to know that you can also make a simple chatbot and put them to use effectively. Since python offers fantastic syntax capabilities it definitely should be the programming language of your choice for this application. But at the same time it becomes super important that you understand everything there is to know about chatbots theoretically and use that learning to check out and understand practical demonstrations and case studies and this is exactly what we are gonna do, we are going to know How to build a Virtual Chatbot – Python Project.
About our Virtual Chatbot
So, basically our chatbot is a simple chatbot which only talks about a particular topic which you make him learn about. For the working of the chatbot we are going to import the required libraries followed by importing and reading corpus. Then, we are going to process the text, afterwards defining the greeting function. Then we have to generate the response and at the end followed by defining conversation start/end protocols.
Steps to Create a Virtual Chatbot
- Importing the required libraries
We are going to import the required libraries for our chatbot. The required libraries are :

- NumPy: The Numerical Python (NumPy) library holds on a multidimensional array entity and a collection of functions for manipulating them. It is basically used for mathematical and logical operations.
- NLTK: It is a standard Python package that contains a number of different NLP methods. It is one of the most widely used NLP and Computational Linguistics libraries.
- String: It has diverse functions which are used to process python strings.
- Random: It is used to randomize words and numbers.
- 2. Importing and reading the corpus
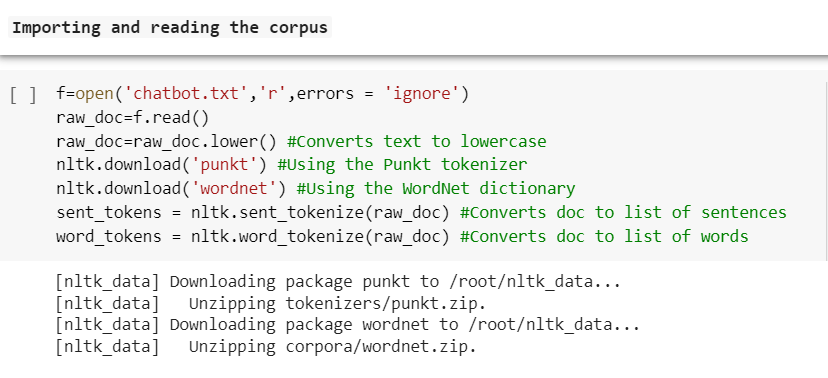
The word CORPUS (also known as Knowledge base) is the training data needed for the chatbot to learn. Without a corpus, it is impossible for a chatbot to learn and reply something userful back to the user.
In the first line of the code you have to write a command to upload the txt file of the content that the chatbot has to communicate about. Here, I have copied down the text from wikipedia all about IBM – it’s history, services, alumni, resources, finances, headquaters etc. The second line of the code reads all the content that is in the text file. The other seven line code converts text to lower cases, converting doc to list of sentences or worlds. The word Punkt tokenizer is the structured process of converting a sentence into individual collection of words.
-
Text Preprocessing

In this step we are going to lemmatize the words. Lemmatization is a process in which we convert all the data coming as an input to either upper or lower case in any language. This will avoid misrepresentation and misinterpretation of words if spelt under lower or upper cases.
-
Defining the Greeting function
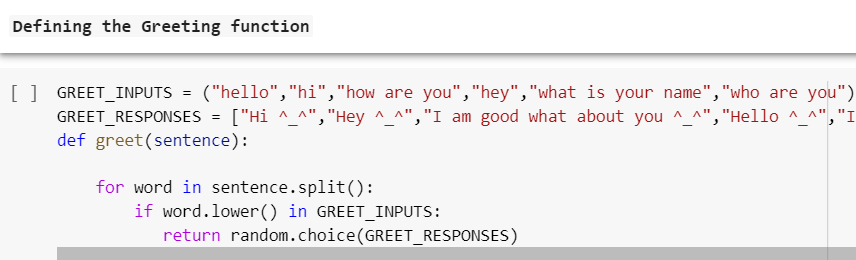
Now, we are going to input all the starting greetings words that our chatbot is going to say in the starting of the conversation. To the input greetings we will have the possible greeting responses.
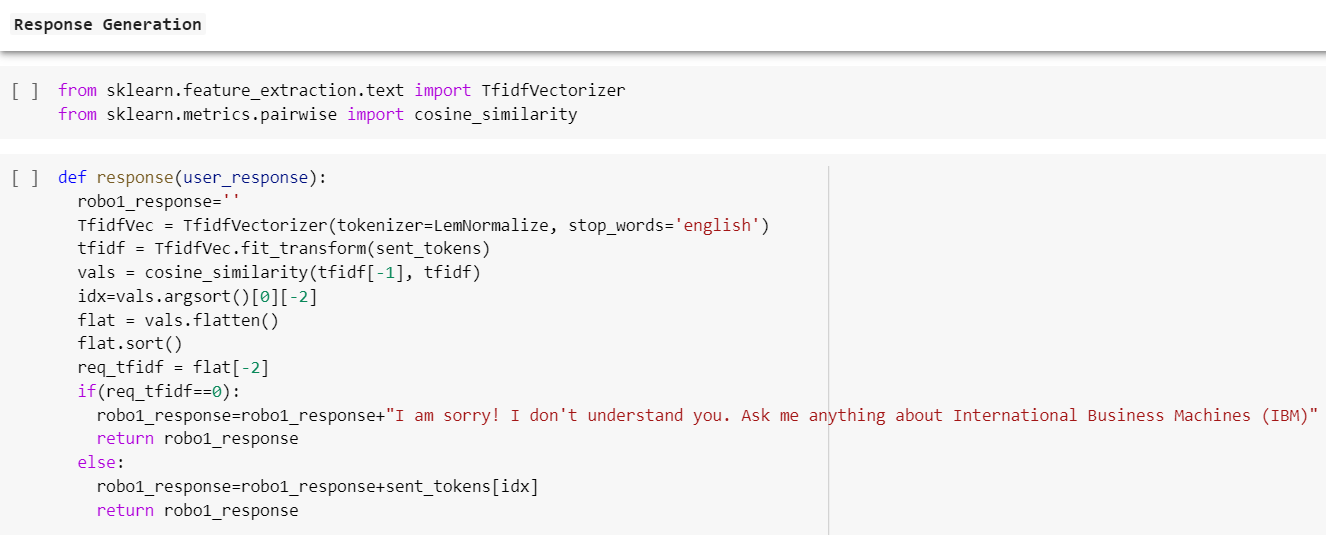
- Response Generation
-
Defining conversation start/end protocols
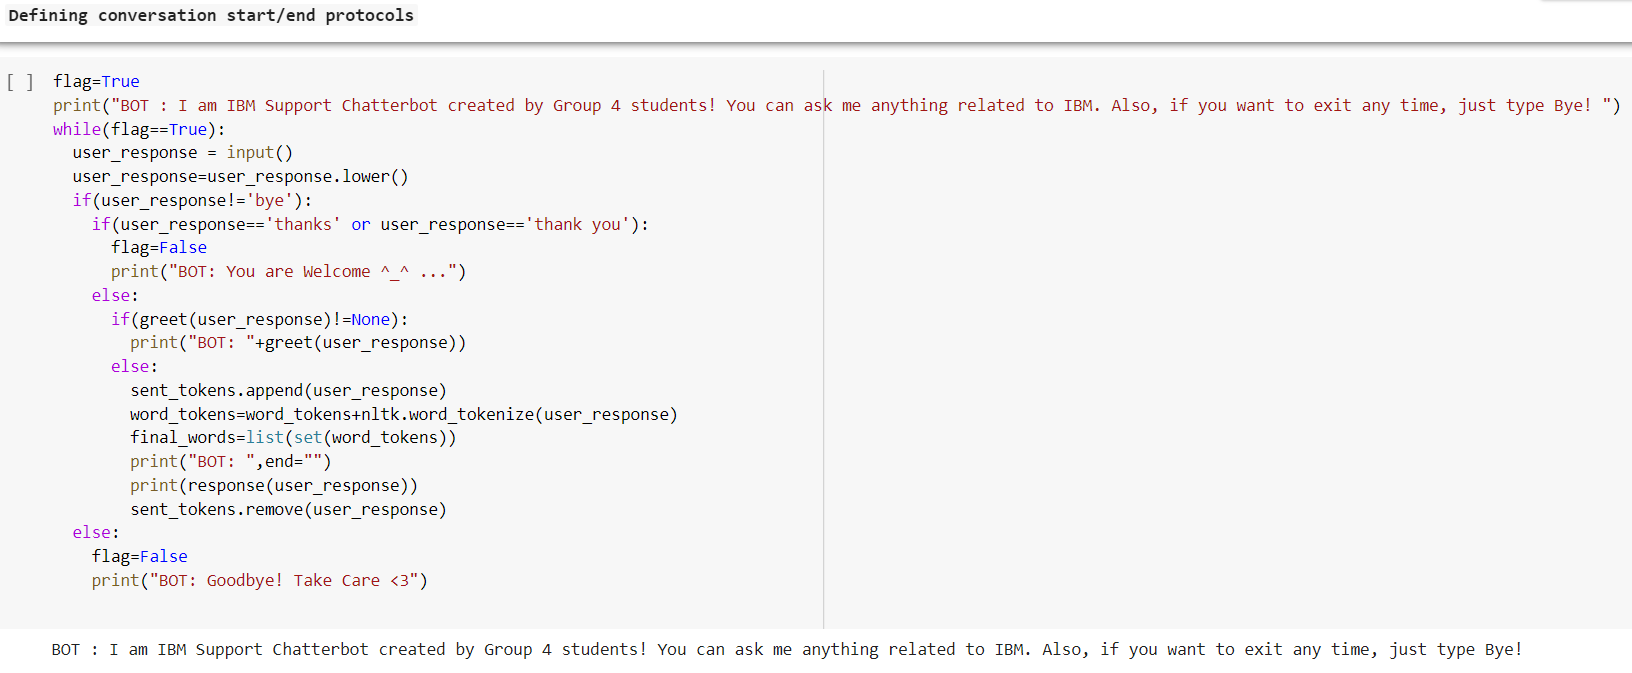
Now our chatbot is ready to interact with the user and tell everyone about IBM, but firstly it will generate a good response in the starting and at the end. You can ask anything related to IBM history, alumni, people and culture, brand and reputation, etc
This is how our virtual chatbot is made. Here, is the full code attached of the chatbot. The programming has been done on Google Collaboratory.
Virtual Chatbot – Python Project
Also Read: What is Chatbot? How to create a chatbot powered by RASA?
: What is deepface? How to use deepface?